Archive for June, 2013

Hex goes Mesh

Thursday, June 20th, 2013

Thanks to Michael (Buchner) for this documentation:

Nobody made sexier pads but Simmons. What would David Simmons do in these times? I don’t know. A plasma pad? With warp drive? One could expect that. But I for myself decided to convert an ordinary SDS 9/1000 pad into a proper mesh head pad. And I kept the construction as simple as possible.
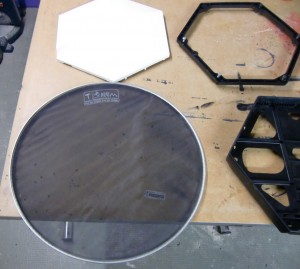
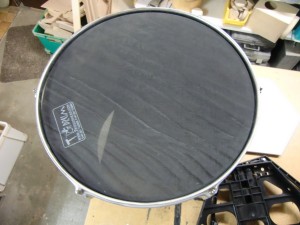
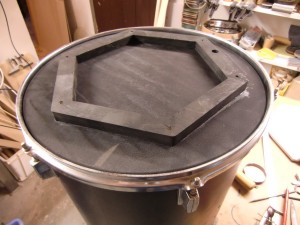
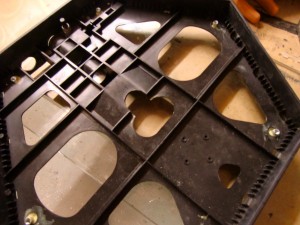
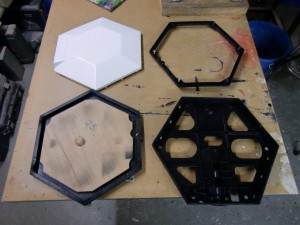
First I disassembled the original pad as shown in pic.1. A mesh head fitting in size was a 16″, as to be seen in pic 2. It was mounted on an old acoustic tom and tensioned as desired later on the pad (pic 3).
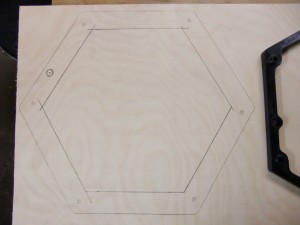
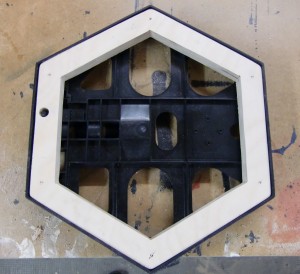
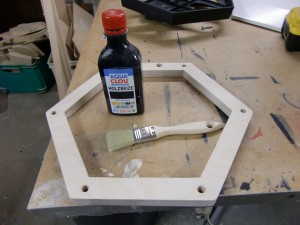
Now I built a plywood frame as shown on pic 4 and 5. It has to slide into the main frame easy like on pic 6. A little black paint and a good german beer ended the day with pic 7 and pic 8.
Now the sensational simple next step: The frame was glued with wood glue directly onto the pre-tensioned mesh head on the stand tom (pic 9) and was allowed to dry for one day. Yes, sad, but true: You don’t have the possibility to adjust the tension of the mesh later, but you don’t have to build constructions with rims and lugs: No risk, no fun. After drying, the head was cut out around the edge and the stand tom was free to work again as usual.
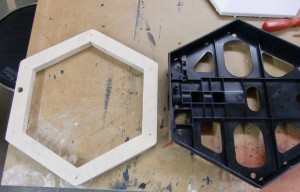
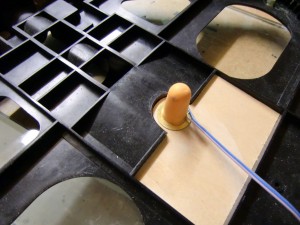
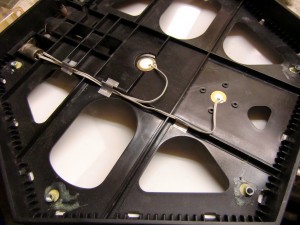
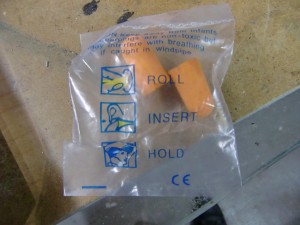
I wanted to have the head piezo exactly in the middle, so I cutted away some mainframe plastic (pic 10) and attached a wooden subframe (pic 11). This is not necessarily important. See the wiring of the 2 piezos on pic 12, don’t forget to wire the rim piezo out of phase for Roland use. You don’t need a big piezo for the rim, the small one as showed on the pic avoids gain reduction in your brain (in your ELECTRONIC DRUM brain, sorry) The foam trigger cone is an airplane earplug (pic 13), because these do the BEST job and they are FREE. Sorry if I ruin some companies business now 🙂
You can see the 6 screws around the frame: This makes it possible to remove the frame with the glued-on head to check the electronics and improve the triggers. They don’t have anything to do with the heads tension. The corresponding nuts are glued under the main frame. You never have to remove the back lid again, this means, that no plastic tongues can break away anymore.
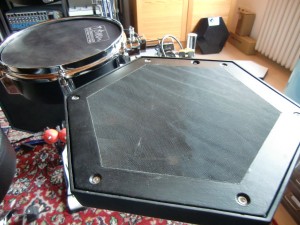
Yes, and, as expected, it works and LOOKS great (pic 14). I am not a heavy hitter and so I don’t expect to have the head changed one time. But this would be possible with warm water and starting over at pic 9!

Pic 1

Pic 2

Pic 3

Pic 4

Pic 5

Pic 6

Pic 7

Pic 8

Pic 9

Pic 10

Pic 11

Pic 12

Pic 13

Pic 14
A new chassis for an SDSV

Sunday, June 9th, 2013

Many SDSV are missing the outer black casing box. Their owners removed them in order to fit the brain into a standard 19″ rack. So if your SDSV brain demands a case, it is rather easy to make one yourself. all you need are two sheet metals, about 0.5mm thick (shouldn’t be much thicker or thinner), width x height = 600x300mm and an appropriate amount of “speaker skin”.

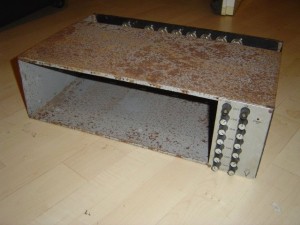
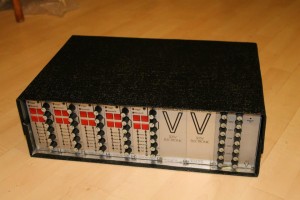
This is my Musicaid SDSV frame serial number #71 when I got it in 2010. Click here to read more about the restoration of the electronics.

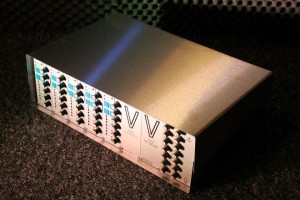
I got the metal sheets (made of stainless steel) from a local metalworker. He also bended the sheets for me. This picture shows an experimental stage with blue pushbuttons and the blank stainless steel case screwed to the brain.

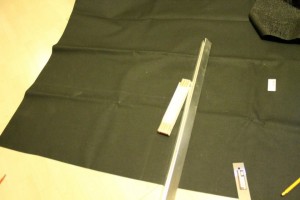
Cutting the skin. It should protude about 5-10mm on every side because it will be wrapped around the sheet edges

glueing the skin onto the sheets. Take care that there are no air or glue bubbles under the skin

the top of the case. Both parts have the same size

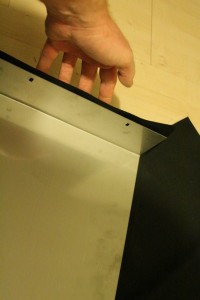
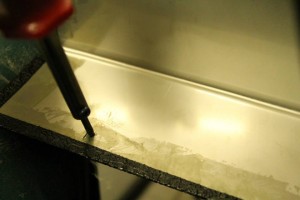
The holes which had been drilled into the sheets before. After the skin is glued I burned the holes with an old soldering iron through the plastic

now both parts are screwed to the frame. Doesn’t look too bad?!

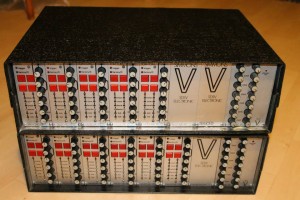
the bottom brain has an original case, the top one is the self made. The parts for the case cost about 25-50 Euro. And today, after 3 years, my old fubar Musicaid brain looks like a new one again

Suitcase restoration

Sunday, June 9th, 2013

What is a suitcase kit? As the sound of a Simmons kit is being generated in the brain and not in the pads Dave Simmons had the idea of doing a portable set of triggers, all hosted in a suitcase. The seven “pads” inside could trigger all modules of a fully loaded SDSV.

As every Suitcase I’ve seen in the past the main problem ist the disappearing rubber foam inside. No wonder after 30 years. And I have seen quite a few. Still I am lucky enough that I got one in 2005, accidently, by a second hand dealer somewhere in the U.K.. In the meantime I’ve been told that only a hand full had been produced, all by hand, probably around 15 to 20. Before I got mine I didn’t even know about it’s existence and there was no information at all in the internet. Some have been hosted in a plastic suitcase, some in a flight case. The most famous owners were Saga (a briefcase) or New Order.

So here are a couple of pictures from Suitcase. Fortunately it is absolutely no rocket science and anybody can even build his own one from scratch without any electronic skills. A metric plan of the arrangement of pads can be downloaded here

This is the Suitcase when I got it. The original rubber foam is dark grey, on top there is a layer of red felt-like cloth, originally glued on the foam. Actually there are two blocks of foam. The top one should be just as thick as the wood pads which is about 20mm. The bottom block is about 40mm thick.

First of all I removed all the old foam as well as the felt from the inside.

Now you can check the wiring, replace transducers (I recommend these), cable or connectors if necessary. All in all the pads are only miniature SDSV pads: Just the same construction.

Cutting. I chose white foam because it’s the easiest base for red lacquer (which I preferred nstead of glueing new felt). Many owners just ripped the felt off. It was bothering anyway.

fitting the bottom block into the suitcase

a paper template to cut the hexagons out of the top block.

assembling…

ready for testing

first connection after more than 20 years

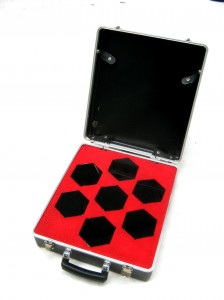
The top block has been painted red. I also replaced the playing surfaces with brand new Polycarbonate. So after this cure my Suitcase looks just like a new one.