Archive for the ‘Report’ Category

SDSV substitute?

Wednesday, January 4th, 2017

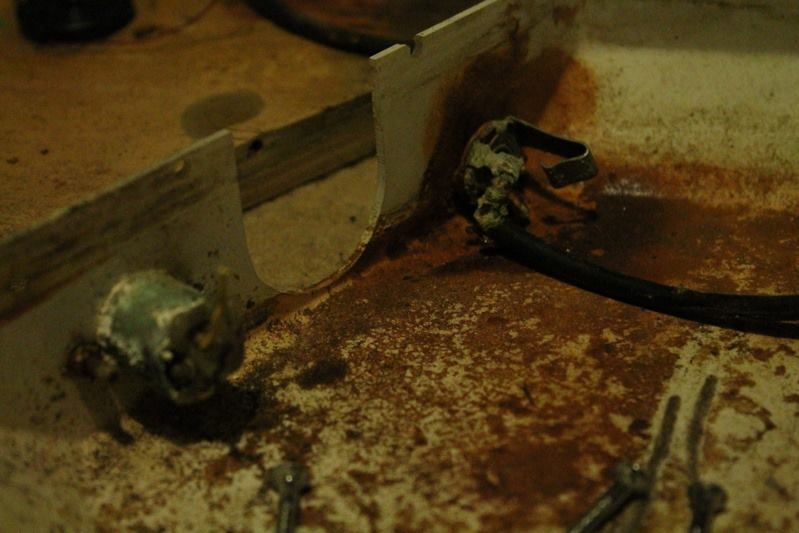
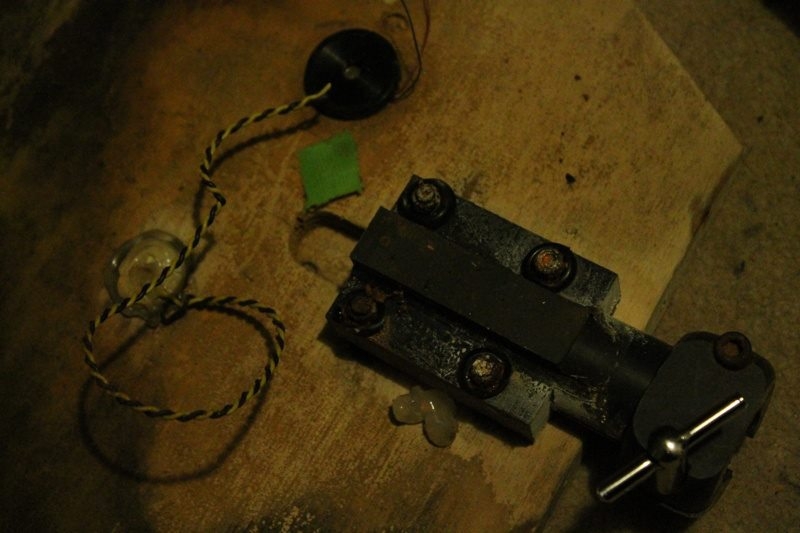
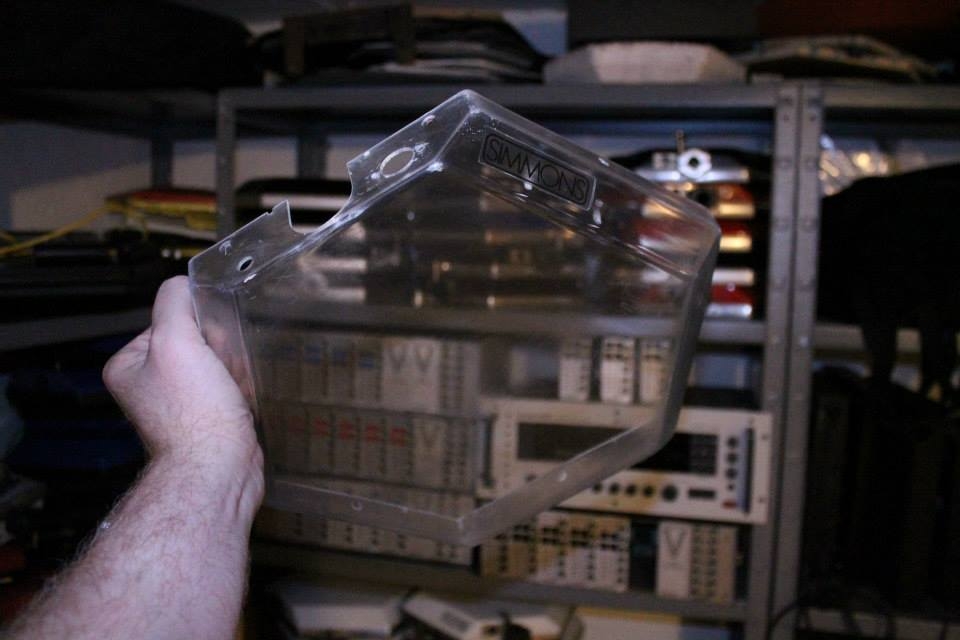
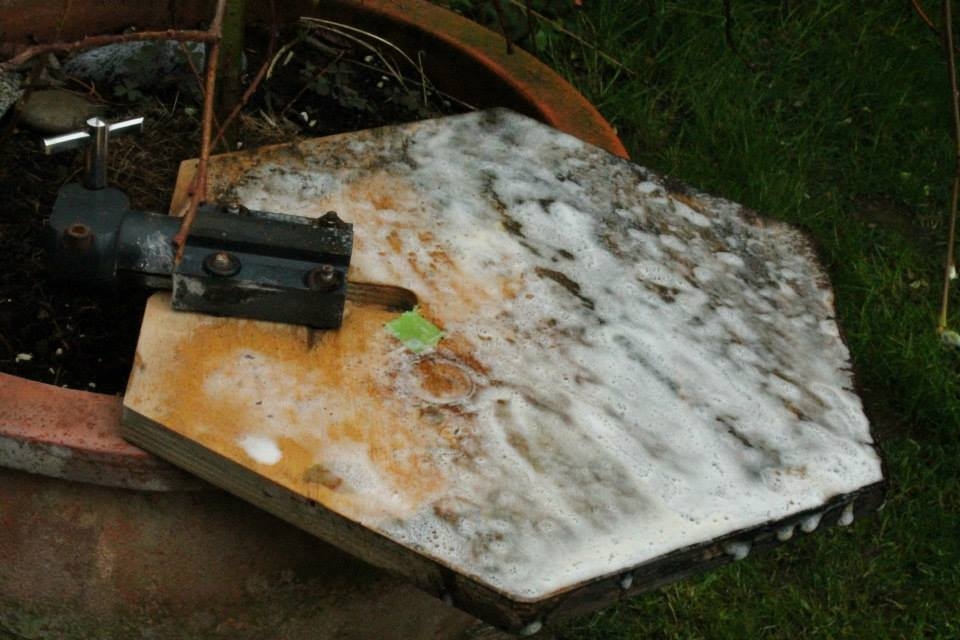
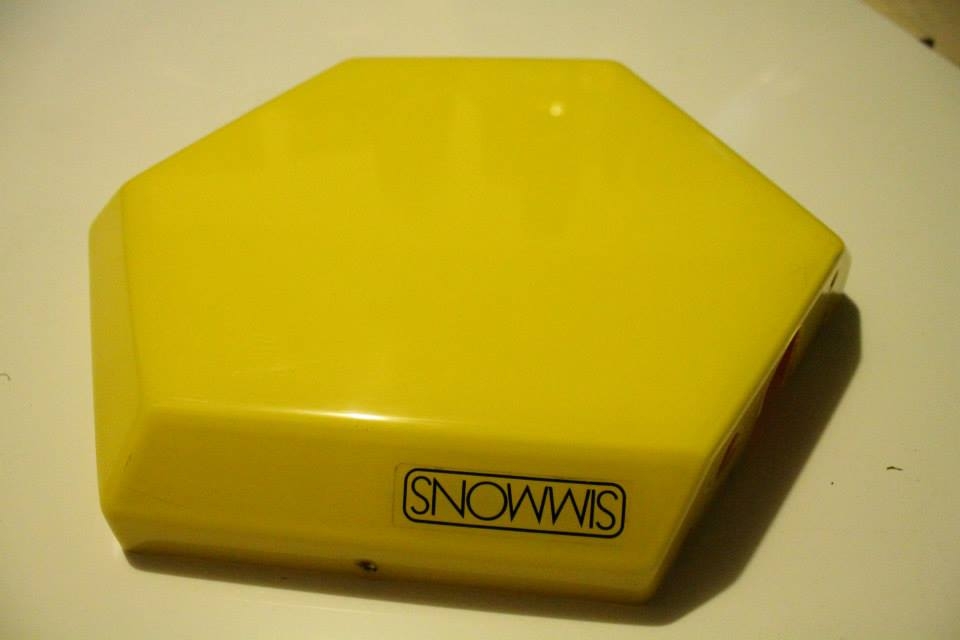
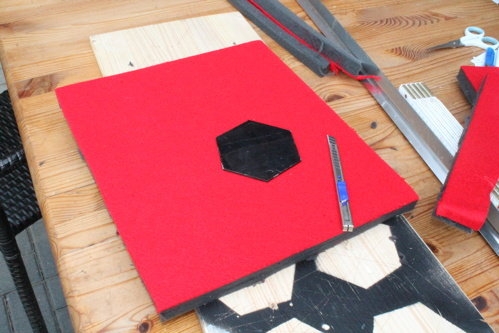
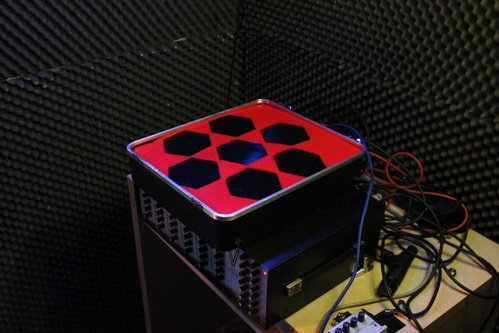
No doubt. In my oppinion the SDSV is the best sounding analog drum synthesizer. Still… But I don’t really trust in 30 year old gear, at least in a live situation where you only have one chance. I decided to try something more contemporary. Something with a minimum of complexness. Easy to program, good sounding and particularly featuring the nice Simmons filters. I decided to give this chance to a Nord Drum 2. While the Nord Drum 1 was limited to 4 channels and only a single mono output, the second version already has 6 channels and stereo out. I liked the idea of programming sounds fast and simple in a very small and transportation friendly metal chassis. The Nord Drum 2 is not really analog, but it is not sample based as well. The analog filters are digitally cloned and -as we know from former Nord synths- pretty good sounding. Although the device is quite easy to program, it takes some time to achieve a Simmons-like sound you can work with.

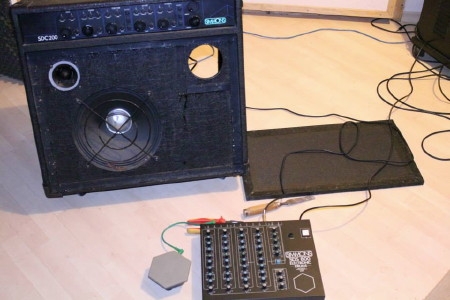
For that particular live situation we used the stereo out to split the kick drum from the snare/toms which worked absolutely great. For future gigs I would like to program different kits for any track.

But is the Nord Drum 2 a substitude for an SDSV?
Yes and no. The ND2 sound is not as powerfull as the SDSV. But still it sounds great. ND2 has some big advantages:

  • light and compact
  • many more filters and waveforms than the SDSV
  • MIDI In/Out
  • Backups via SysEx
  • easy to program
  • reasonable price
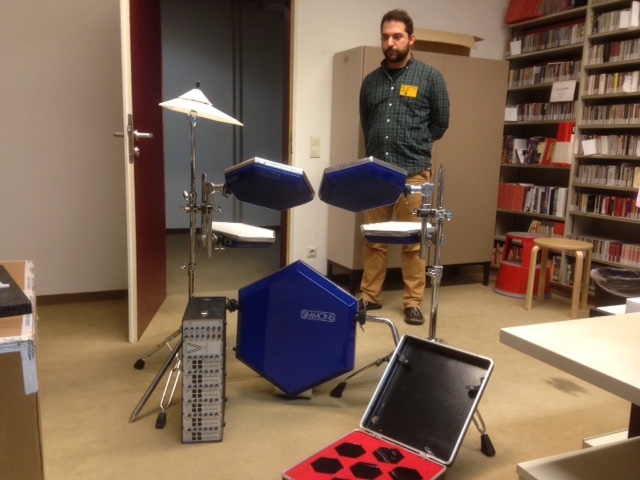
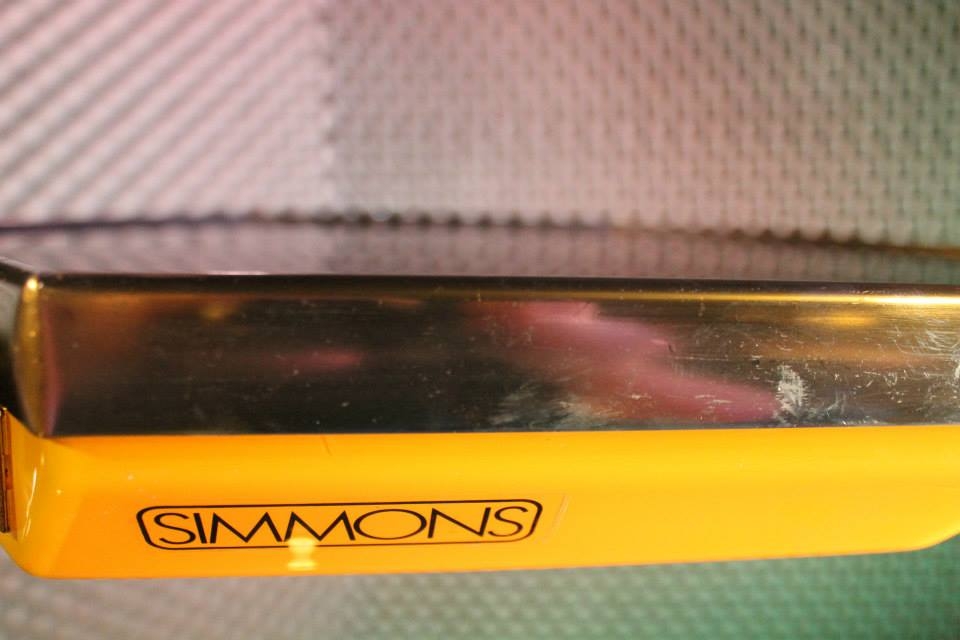
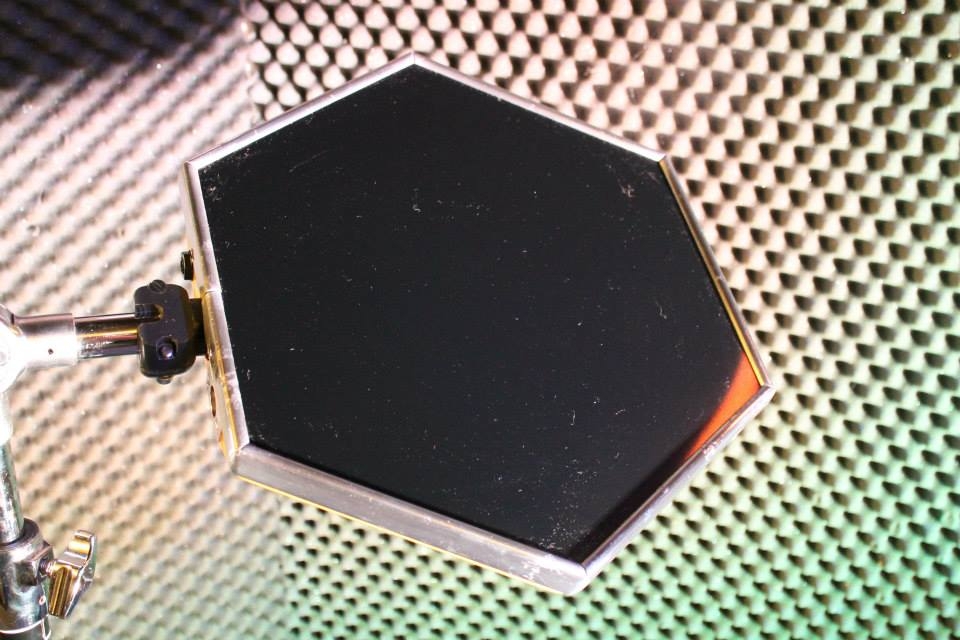
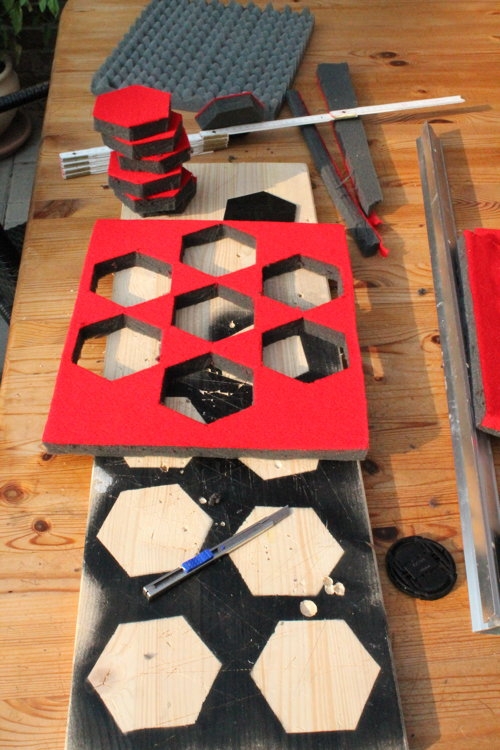
  • works great with Simmons pads, even with SDSV pads
  • separate headphone output

The advantages of the original should be mentioned as well:

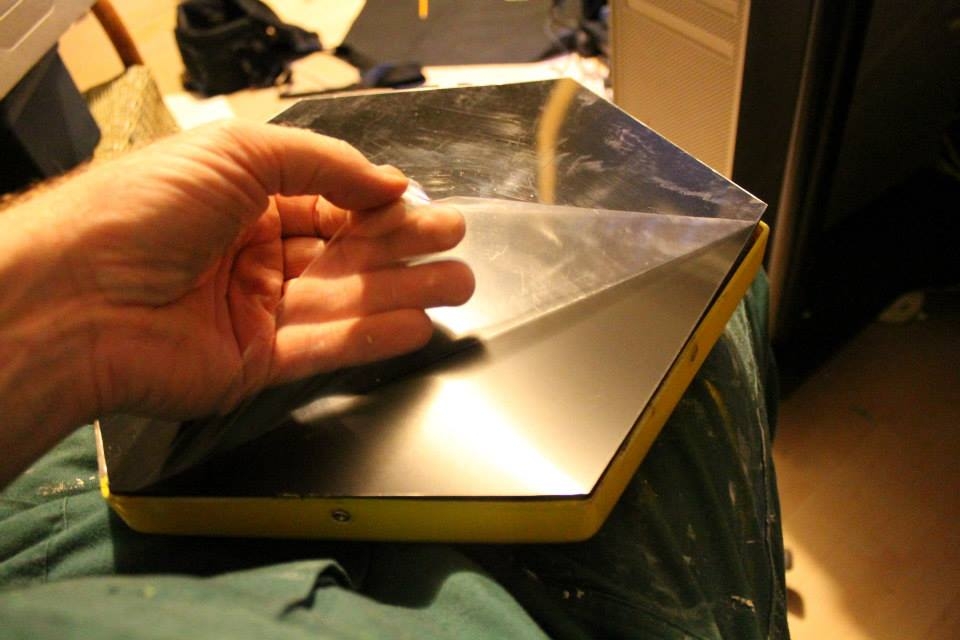
  • the best Simmons sound ever. There is nothing like the original. Amen.
  • one knob each filter: The sound can be edited while you are playing: No menus, no detour
  • mono, stereo and single (XLR!) outputs
  • up to 7 modules per frame
  • 19″

Final result:
If you can live with a sound that is only 95% of the original, that only provides stereo out and that is only available as a non-standardised desktop version, the Nord Drum 2 is a good choice. It is powerful, reliable and compact. It sounds very good, has even many more filters compared to the analog Simmons filters and works with most Simmons pads (exception: SDX pads) and has contemporary features like MIDI. If you still prefer the original: Think about a Nord Drum as a backup 😉

Some more impressions from that gig can be found here: http://portfolio.tombstone-webzine.de/albums/held-der-arbeit-23-dezember-2016-matrix-bochum/

A Simmons SDSV for the National Museum of Music Research in Berlin

Tuesday, November 22nd, 2016

“Why on earth do you collect old electronic drums?” At some point I stopped counting how often I was asked this question. But probably the following story is a part of the answer.

May 2015. A scientific assistant of the National Museum of Music Research in Berlin contacted me. He explained that his institute is running a musical instruments museum. They were planning a special exhibition about the history of electronic musical instruments and if I would be willing to provide a Simmons exhibit. Of course I was! Presenting Simmons gear is always better than storing it until the end of days. But nothing hapened until 3 weeks ago. He contected me again and we negotiated the conditions. He was interested in an SDSV and I preferred to bring it by car (600km) rather than unromantically sending it with a carrier. Although the exhibition is from March to June, the institute needed the exhibits at the end of November in order to make the catalogue in time. Last week I jumped into my car with a blue SDSV with brain and cymbal pad plus my Suitcase Kit and headed for Berlin. Incidantally at the same time there was another SDSV for sale in Berlin. I took the opportunity to bring one kit to the museum but also to bring a new kit back home. However… I had the chance to visit the museum. It was very cool! Musical instruments representing all centuries. Musical instruments I have never heard of. Very impressing. If you happen to be in the Berlin area between March 25th and June 25th: Visit the special exhibition “Good Vibrations – A story about electronic musical instruments”


Early in the morning… Don’t make appointments at noon if you have 600km to go


At least not much traffic at that time


12:30. We are about to land soon


First stop in Berlin: Appointment with the seller of a white SDSV pad set. To be honest: A friend of mine asked me NOT to buy those pads and leave them for him. I agreed. He had been waiting for years to find a pad set for his brain. A round of allpause for my modesty, please…


There is still some time until I meet the guy from the museum. Time to discover some essential buildings


Finally! The hall of fame!


After we brought the gear inside I explained hw to set up the kit right


Inside the box on the left there’s a Mini Moog. The exhibition will include around 70 exhibits


I am invited to visit the museum. It is much much bigger than I thought. It shows classical instruments from the 17th century as well as contemporary gear. But the focus is on classical instruments. My favourite exhibit is a “Trautonium”, a predecessor of the synthsizer


This is the space for the special exhibition. In some special events some of the gear will be explained and played


The craziest musical instrument I have ever seen. The organ is only the controller of a hall full of instruments like percussion, snares, timpanies, chromatic percussion, organ pipes… all triggered by compressed air.


I counted more than 20 harpsichords. All vintage and all restored in the institutes own workshop

I really recommend this museum if you are interested in music. I will come and visit my SDSV in March or April (Will it still recognize me?) and of course I will pick it up in June.

Extreme restoring of an almost lost SDSV pad

Friday, October 21st, 2016

Some time ago I got a request by a Simmons mate. He purchased a set of SDSV pads and requested some restauration hints. I offered him to send the pads for a more precise analysis. But what I got was more a bio hazard rather than a set of SDSV pads. Ready for the junk yard? Never!


My first impression was that the pads did not look that bad, but because they simply didn’t work I had to open them. What I found was a bacterial disaster.


Only open with breathing mask!


Transducers after 30 years in the fenland


spare parts and counterpoisons


Removing the original lacquer with circuit board cleaner (looses the lacquer but does not damage the acryl!)


This might work as a salad bowl, too


Fighting the mould


Drying and sanding


Polished rims


Stainless steel screws for another 30 years


Test lacquering on an acrylic plate. Do not use Polyurethan lacquer! It will damage the shell! Actually I used paint for model-making.


Water based Acryl lacquer


Once I was a piezo


The shell is ready


My brother Mr. Perfect: I collect drums, he collects tools 😀


The mounting socket: Before and after


Cutting new playing surfaces. Today we choose … black


Rubber seals from the plumber department. And new stainless steel screws as well


The mounting socket screwed to the plywood board


New 35mm piezo, new XLR socket


Assembling the shell to the board


This pad was born in 1983. 007’s Octopussy as well


The PVC plate is being glued to the board. Virginally shining under the protection foil


Mounting the rim – checked


sweet 🙂


Beta Testing


To be honest: I am sure that it didn’t look much better 30 years ago in the retailers showroom

It was more effort than it might look like. And this is the first pad of a total of five. Still it was worth doing that

Pioneers of electronic drums: Kraftwerk

Friday, October 9th, 2015

Here is a Youtube finding of a Kraftwerk performance from 1973 in the German culture magazine “Aspekte” with Wolfgang Flür playing his self-built electronic drum kit. Later this kit was also played on the record “Autobahn”

The amp: SDC 200

Wednesday, June 24th, 2015

First I have to apologize for not posting for such a long time. In fact there would have been enough to post and I will try to catch up with all those nice topics during the last year. This time I have some pictures from an SDC 200 restauration project. This amp had been designed especially for Simmons drum kits. It has separate channels for kick, snare, toms, hihat and cymbals. 200 Watts amplification, a 12″ mid/bass speaker (ILP 312S, 12″ 8 Ohm) plus an Audiotech HF 200A piezo tweeter. The power is ok for personal monitoring, but at least I have heard about many blown speakers and I was adviced to change it for something stronger once it got broken.
However, it’s a rare collectable and I am glad that I got one about 1 year ago. As all SDS 200s I’ve seen before, the foam panel as well as the light blue hexagon disppeared over the years. The artificial leather coat got gray and dusty. Fortunately all knobs are still in place and the amp works pretty good. So all restauration jobs are cosmetical. Simmons used many parts from supplier Adam Hall like the edges, the black coat, wheels and the panel foam. These parts are still available!


This is the amp as I actually got it. I did some testing, took a look inside:


For the cosmetical issues I removed the amp part from the chassis and removed the protection edges to clean and fresh up the artificial leather:


The most interesting part is making a new front panel. I cut a frame from thin wood strips and stapled them to a frame. Afterwards I stapled the panel foam as well as the hook-and-pile tape to the wood stripsx:


Finally I cut some piece of light blue rubber foam to a hexagon and stuck it to the panel:


And here we are! It’s no rocket science and I am glad to have saved one of those amps. I doubt that more than a “handfull” of SDC200s are still in use and working. I would estimate that Simmons built around 500. Anecdote: After carrying this monster back in the basement storey I got a bad back for 3 days 🙂

1981 Suitcase Kit Replica

Friday, July 5th, 2013

Two weeks ago a friend of mine sent me a link to an old black plastic toolbox: “Hey, doesn’t this box have about the size as a Suitcase kit?” Indeed! It had! So he bought 2 boxes, I got one. We ordered all ingredients:

  • rubber foam (40mm and 20mm)
  • XLR connectors
  • 20mm plywood
  • black PVC
  • wire
  • transducers
  • 1 kOhm resistors
  • red felt
  • foam glue spray

The parts cost about 50 Euro. Assembling the suitcase takes a couple of hours. It is pure fun and worth every minute. Fortunately I already had an original Suitcase which I restored a couple of years ago. So I already roughly knew what to do…


Cutting the pads


…and the surfaces


assembling the pads


transducers on the backside


the slot for the connectors


those connectors haven’t changed in 4 decades


cutting the foam


soldering pad by pad. The resistors soften the signal


Testing


the bottom layer of foam


The plan


Assembling


almost


adhering the felt onto the top foam layer


cutting


cutiing the trays for the pads


the closed case


Finished, connected and ready to play

and here is a little video demo:

This Replica works very good. I don’t have any crosstalk problems and I am also looking forward to play my VST system. As we still have enough material and as I get the dimensions of Saga’s original Briefcase I am looking forward to clone this one, too.

Hex goes Mesh

Thursday, June 20th, 2013

Thanks to Michael (Buchner) for this documentation:

Nobody made sexier pads but Simmons. What would David Simmons do in these times? I don’t know. A plasma pad? With warp drive? One could expect that. But I for myself decided to convert an ordinary SDS 9/1000 pad into a proper mesh head pad. And I kept the construction as simple as possible.
First I disassembled the original pad as shown in pic.1. A mesh head fitting in size was a 16″, as to be seen in pic 2. It was mounted on an old acoustic tom and tensioned as desired later on the pad (pic 3).
Now I built a plywood frame as shown on pic 4 and 5. It has to slide into the main frame easy like on pic 6. A little black paint and a good german beer ended the day with pic 7 and pic 8.
Now the sensational simple next step: The frame was glued with wood glue directly onto the pre-tensioned mesh head on the stand tom (pic 9) and was allowed to dry for one day. Yes, sad, but true: You don’t have the possibility to adjust the tension of the mesh later, but you don’t have to build constructions with rims and lugs: No risk, no fun. After drying, the head was cut out around the edge and the stand tom was free to work again as usual.
I wanted to have the head piezo exactly in the middle, so I cutted away some mainframe plastic (pic 10) and attached a wooden subframe (pic 11). This is not necessarily important. See the wiring of the 2 piezos on pic 12, don’t forget to wire the rim piezo out of phase for Roland use. You don’t need a big piezo for the rim, the small one as showed on the pic avoids gain reduction in your brain (in your ELECTRONIC DRUM brain, sorry) The foam trigger cone is an airplane earplug (pic 13), because these do the BEST job and they are FREE. Sorry if I ruin some companies business now 🙂
You can see the 6 screws around the frame: This makes it possible to remove the frame with the glued-on head to check the electronics and improve the triggers. They don’t have anything to do with the heads tension. The corresponding nuts are glued under the main frame. You never have to remove the back lid again, this means, that no plastic tongues can break away anymore.
Yes, and, as expected, it works and LOOKS great (pic 14). I am not a heavy hitter and so I don’t expect to have the head changed one time. But this would be possible with warm water and starting over at pic 9!

Pic 1

Pic 2

Pic 3

Pic 4

Pic 5

Pic 6

Pic 7

Pic 8

Pic 9

Pic 10

Pic 11

Pic 12

Pic 13

Pic 14

A new chassis for an SDSV

Sunday, June 9th, 2013

Many SDSV are missing the outer black casing box. Their owners removed them in order to fit the brain into a standard 19″ rack. So if your SDSV brain demands a case, it is rather easy to make one yourself. all you need are two sheet metals, about 0.5mm thick (shouldn’t be much thicker or thinner), width x height = 600x300mm and an appropriate amount of “speaker skin”.

This is my Musicaid SDSV frame serial number #71 when I got it in 2010. Click here to read more about the restoration of the electronics.

I got the metal sheets (made of stainless steel) from a local metalworker. He also bended the sheets for me. This picture shows an experimental stage with blue pushbuttons and the blank stainless steel case screwed to the brain.

Cutting the skin. It should protude about 5-10mm on every side because it will be wrapped around the sheet edges

glueing the skin onto the sheets. Take care that there are no air or glue bubbles under the skin

the top of the case. Both parts have the same size

The holes which had been drilled into the sheets before. After the skin is glued I burned the holes with an old soldering iron through the plastic

now both parts are screwed to the frame. Doesn’t look too bad?!

the bottom brain has an original case, the top one is the self made. The parts for the case cost about 25-50 Euro. And today, after 3 years, my old fubar Musicaid brain looks like a new one again

Suitcase restoration

Sunday, June 9th, 2013

What is a suitcase kit? As the sound of a Simmons kit is being generated in the brain and not in the pads Dave Simmons had the idea of doing a portable set of triggers, all hosted in a suitcase. The seven “pads” inside could trigger all modules of a fully loaded SDSV.

As every Suitcase I’ve seen in the past the main problem ist the disappearing rubber foam inside. No wonder after 30 years. And I have seen quite a few. Still I am lucky enough that I got one in 2005, accidently, by a second hand dealer somewhere in the U.K.. In the meantime I’ve been told that only a hand full had been produced, all by hand, probably around 15 to 20. Before I got mine I didn’t even know about it’s existence and there was no information at all in the internet. Some have been hosted in a plastic suitcase, some in a flight case. The most famous owners were Saga (a briefcase) or New Order.

So here are a couple of pictures from Suitcase. Fortunately it is absolutely no rocket science and anybody can even build his own one from scratch without any electronic skills. A metric plan of the arrangement of pads can be downloaded here

This is the Suitcase when I got it. The original rubber foam is dark grey, on top there is a layer of red felt-like cloth, originally glued on the foam. Actually there are two blocks of foam. The top one should be just as thick as the wood pads which is about 20mm. The bottom block is about 40mm thick.

First of all I removed all the old foam as well as the felt from the inside.

Now you can check the wiring, replace transducers (I recommend these), cable or connectors if necessary. All in all the pads are only miniature SDSV pads: Just the same construction.

Cutting. I chose white foam because it’s the easiest base for red lacquer (which I preferred nstead of glueing new felt). Many owners just ripped the felt off. It was bothering anyway.

fitting the bottom block into the suitcase

a paper template to cut the hexagons out of the top block.

assembling…

ready for testing

first connection after more than 20 years

The top block has been painted red. I also replaced the playing surfaces with brand new Polycarbonate. So after this cure my Suitcase looks just like a new one.

Likely the first SDSV review ever…

Saturday, April 27th, 2013

Seb Shelton, former drummer of Dexy’s Midnight Runners and editor of the magazine “Sounds” kindly provided a copy of a review he made for the January 1981 issue. The picture shows the “batwing kit”  which had been exhibited at a music trade show in London in early 1981 together with a set of heart shaped pads and a set of … hexagonal shaped pads.

Bat shaped Simmons pads (late 1980)

Original review:

SlMMONS SDS V RRP GBP 1250 inc VAT
DRUM SYNTHS currently on the market provide, to my mind, interesting, expensive additions to acoustic drum kits but little else. Now for something completely different!
The SDS V Modular Drum Synthesiser is capable of producing synthesised percussion sounds and acoustic drum sounds ranging from Rototoms through to standard rack toms, timpani, bass drums and snare drums. Difficult to believe isn’t it? However, after spending two afternoons pawing the set-up, I believe that these could adequately replace standard acoustic drums for most studios and live work.
A prototype SDS V was first shown to the unsuspecting public a few months back at the British trade show and was the result of over two years’ work by Dave Simmons who had previously designed Britain’s first indiginous production drum synth. By the time you read this a six-piece production version of the SDS V will be available as well as limitless custom variations, ranging from one module (drum) upwards in any shape, size and colour.
The basic idea for the set-up is simple. Electronic modules have been specifically designed to reproduce sounds created by a single item from a standard drum kit (ie snare, bass drum etc) and are linked up to a touch-sensitive pad. The shape and size of the pads is obviously immaterial as it is the modules which are responsible for the sound. Of course, the real technology comes in incorporating the controls needed to simulate the performance of acoustic drums. Thus the SDS V has ‘hiss pitch’, ‘tone pitch’, ‘bend’, ‘decay’, ‘balance’ and ‘click balance’ features.
These terms are pretty self-explanatory so suffice it to say that with a bit of knob twiddling I got some ‘acoustic’ drum sounds which really shocked me, not to mention the normal range of typical electronic percussion hisses, pings, whoops and cracks. This was all achieved with standard controls and the aid of a battered old mixer/amp through an equally battered old bass bin and horn unit.
What is exciting about this outfit is the prospect of linking it up to a sophisticated studio or live mixing desk. In this situation each drum sound could be refined to a much greater degree, and all of the ‘effects’ which can so easily be applied to other electronic instruments — echo, flanging, phasing etc — added to your electronically produced acoustic drum sounds.
The proposed production model consists of five identical 11 inch hexagonal pads acting as hi-hat, snare drum and three rack toms, plus a 22 inch hexagonal pad for the bass drum. Each pad consists of a black or white perspex playing surface backed by about two inches of hardwood. The edge of the perspex is protected by a metal rim and each pad is connected to its respective module by Cannon connectors. The six modules are fitted together into a 19 inch rack complete with power supply. Finally the pads are mounded into a playing position via two of the excellent Pearl Variset series of floor stands. There’s little else to comment on in the hardware department other than the huge spurs on the bass ‘drum’ which make it immovable when playing.
Sensibly no bass drum pedal is supplied with the kit; the bass drum pad is of course designed to be triggered with a pedal but because it’s touch sensitive it could equally be triggered with a stick, which opens up a whole new set of playing possibilities.
For example rolls could be played on the bass drum using sticks getting the same kind of power and sound as if playing them with a pedal, but without the legwork. Alternatively a combination of stick and pedal could be used, or the bass drum module could even be plugged into the snare pad and triggered that way. Magical, huh?
The hi-hat is again a pad but this time a pedal is supplied and it works like a volume pedal. When playing with the pedal depressed the sound from the pad/module is the ‘tick-tick’ of a closed hi-hat, and with pedal ‘open’ it’s the sizzle of a part opened hi-hat. It can also be played with the foot like a normal hi-hat.
Of all the modules this was the most difficult to get a good, natural, quality sound from. In the basic playing position it lacked some of the bite of a good pair of cymbals and there was no bell sound available. However, an acceptable sound can be produced.
The rack’s control panel has, in addition to the six knee of knobs, a square of four push-buttons which control the four memories of the system. The top left hand button calls up a preset sound for each of the pads but the remaining three are free and can be programmed according to the player’s requirements. Thus at the push of a button four different sounds are available far each pad. So in effect there’s a possible 20 drums and four hi-hats in front of you when the memories are programmed. Obviously this is not quite as effective as having all those drums and cymbals physically there because you have to push buttons to ‘create’ them, but from a collection of little pads it’s not bad!
So far, so good, but a couple of obvious queries need to be cleared up. Rimshots for instance. When the outer metal rim of the pad is struck simultaneously with the pad, there is a change in tone and increase in volume as with a standard drum. But to achieve the higher-pitched type of rim shot used a lot in reggae and ballads, one needs to employ one of the memories and create that sound electronically.
Another point. At first I thought devotees of the finer drum skills such as brushwork might be at a loss with the smooth perspex pads but the answer is simple — fit a rough surface to the pads.
Undoubtedly there’ll be a few raised eyebrows and the claims made for the SDS V that it can replace acoustic drums in modern music will be disputed. Two thousand years of tradition are, after all, quite an obstacle. However, providing it stands up to the rigours of eye work, the advantages are too overwhelming to ignore. Obviously the different response of a hard playing surface is something to get used to but I find the perspex a positive advantage. On acoustic drums it’s visually impossible to apply many sticking patterns if the heads are tuned down, but this problem doesn’t exist with the SDS V.
Also as there are no conventional heads there are no worries about detuning during playing, unwanted snare buzzes or general overtones.
Consider too, apart from needing no microphones, the advantages of being able to increase drum volume via the ‘drum stack’. No doubt other advantages will become apparent with time (and perhaps drawbacks too) but all I have to add at present for the doubtful among you drummers is: remember those who thought the electric guitar would never catch on. Where are they now?