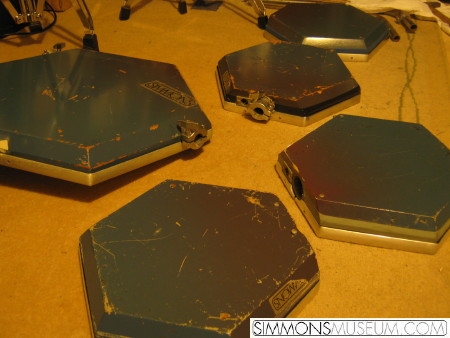
Some time ago I got a request by a Simmons mate. He purchased a set of SDSV pads and requested some restauration hints. I offered him to send the pads for a more precise analysis. But what I got was more a bio hazard rather than a set of SDSV pads. Ready for the junk yard? Never!
My first impression was that the pads did not look that bad, but because they simply didn’t work I had to open them. What I found was a bacterial disaster.
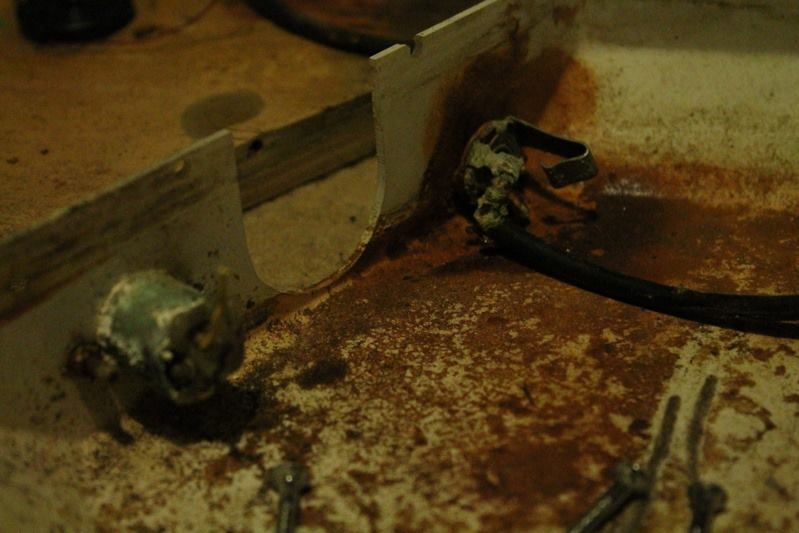
Only open with breathing mask!
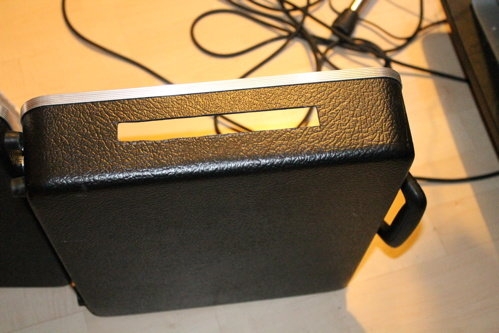
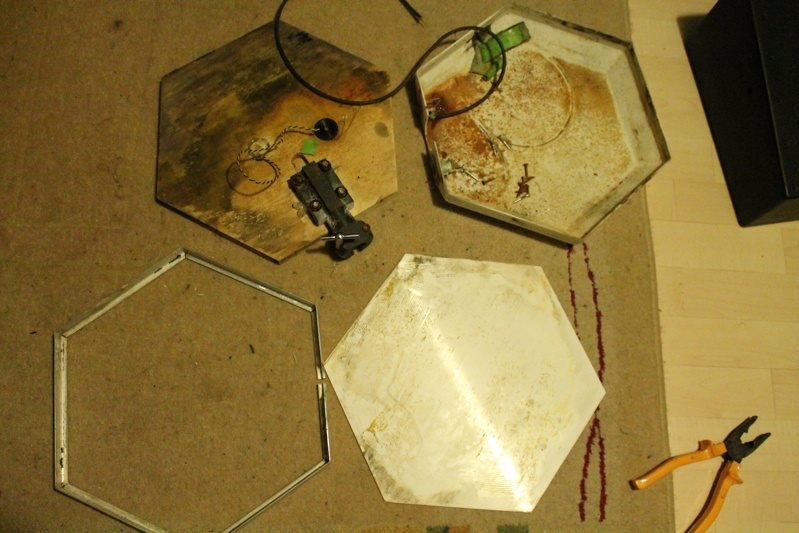
Transducers after 30 years in the fenland
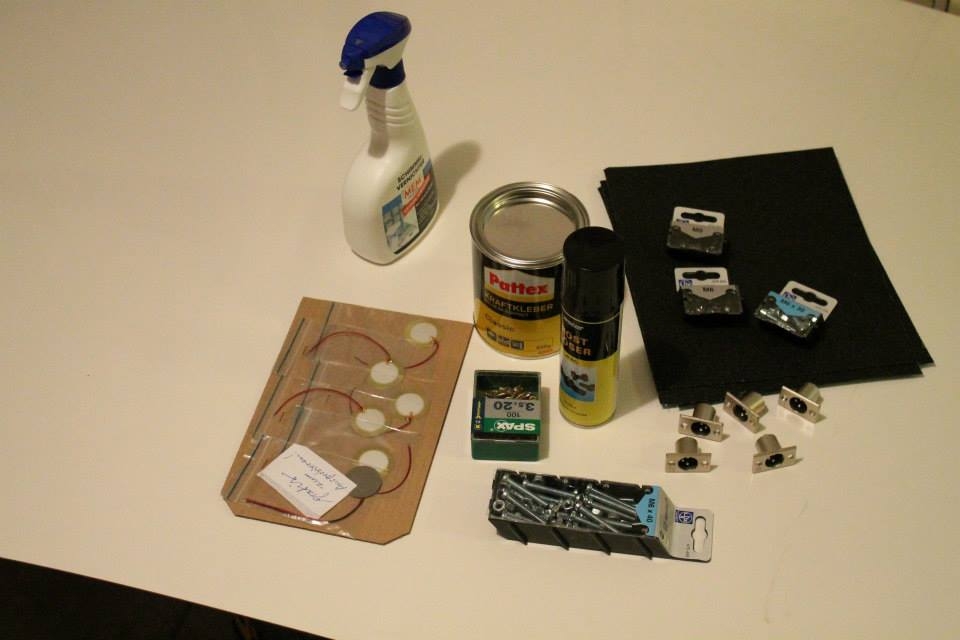
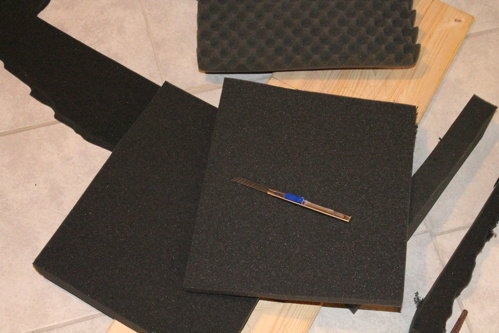
spare parts and counterpoisons

Removing the original lacquer with circuit board cleaner (looses the lacquer but does not damage the acryl!)
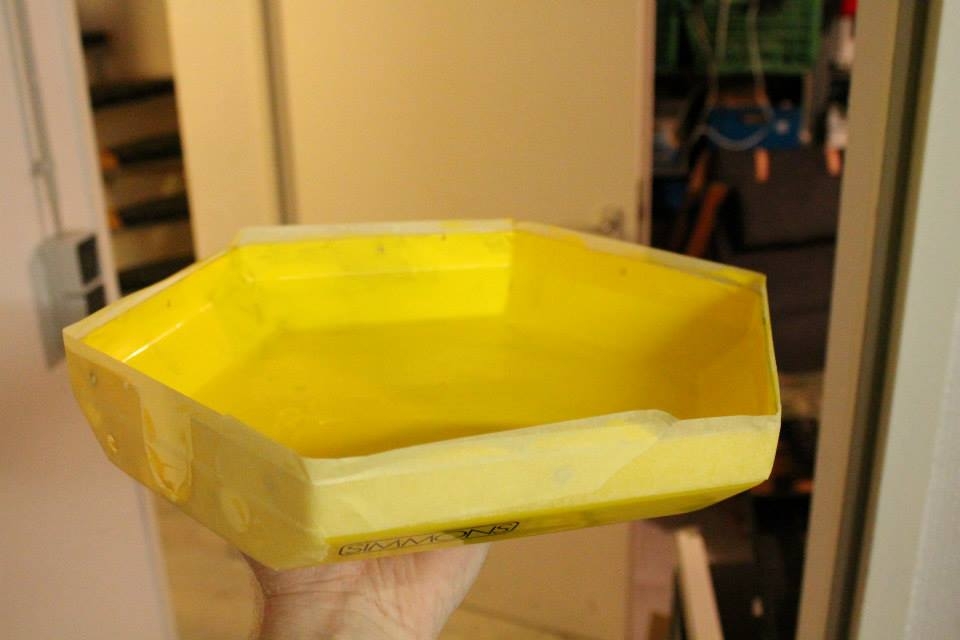
This might work as a salad bowl, too
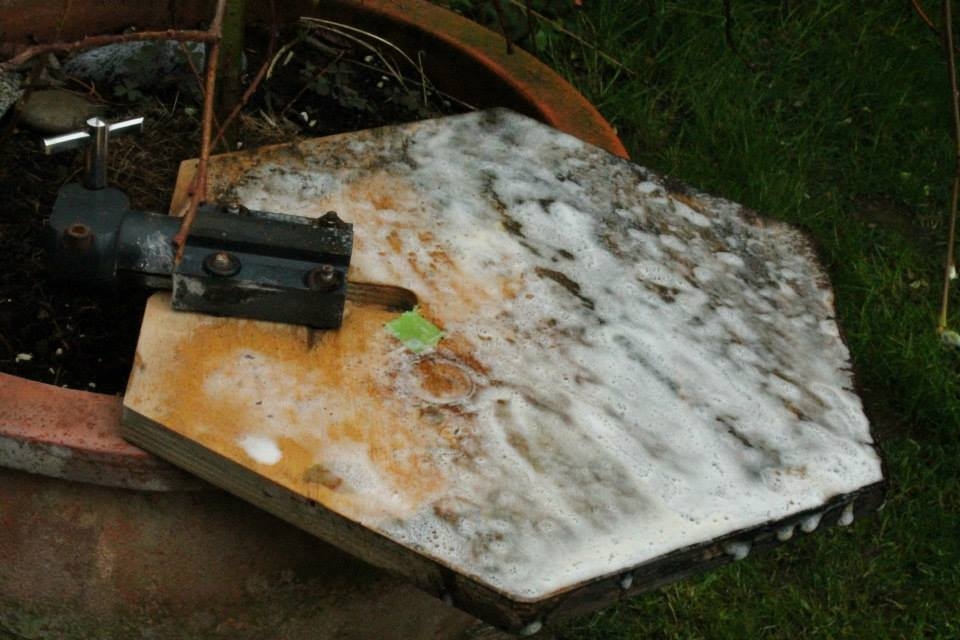
Fighting the mould

Drying and sanding

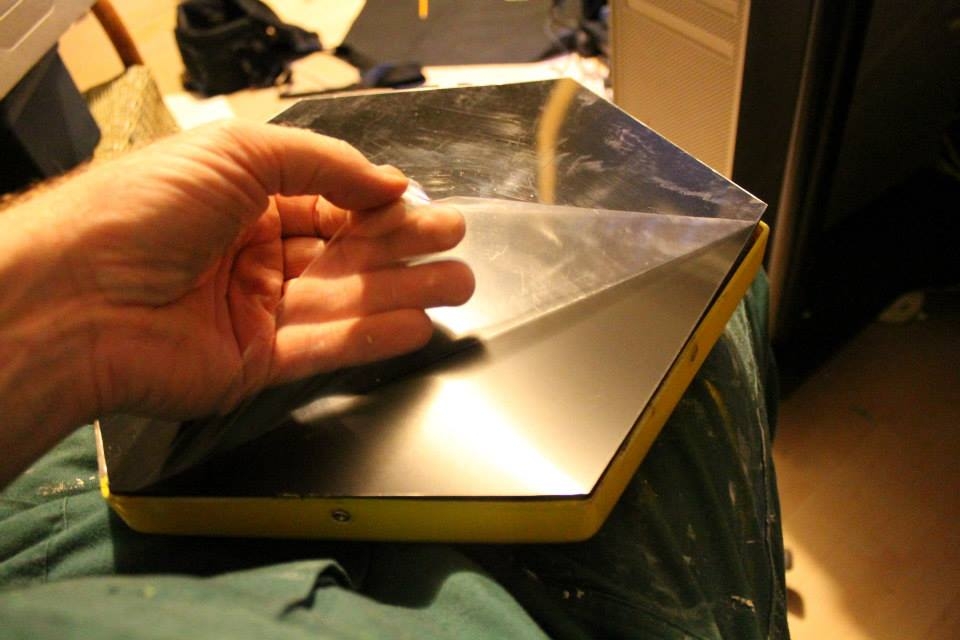
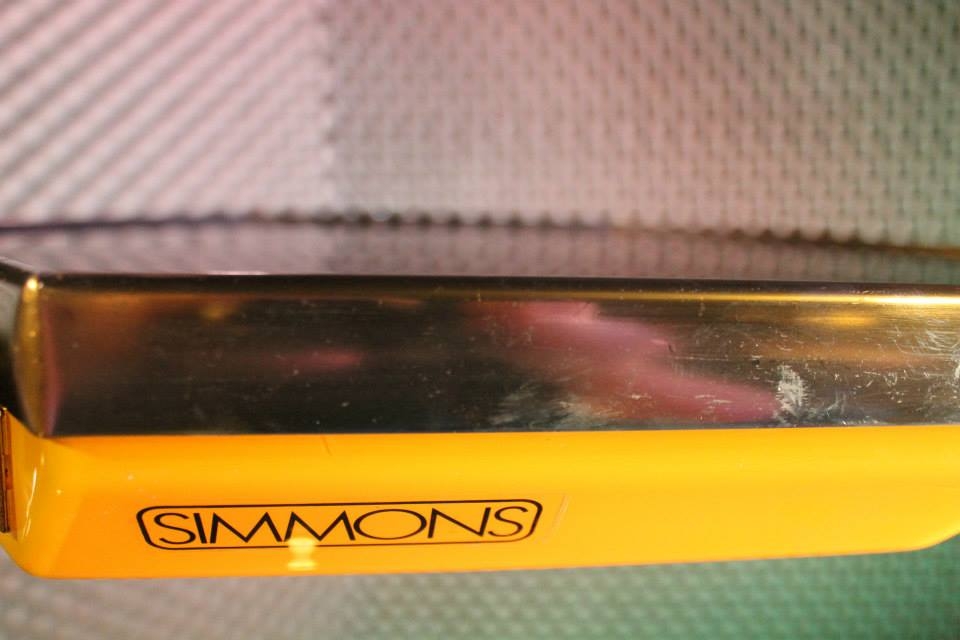
Polished rims
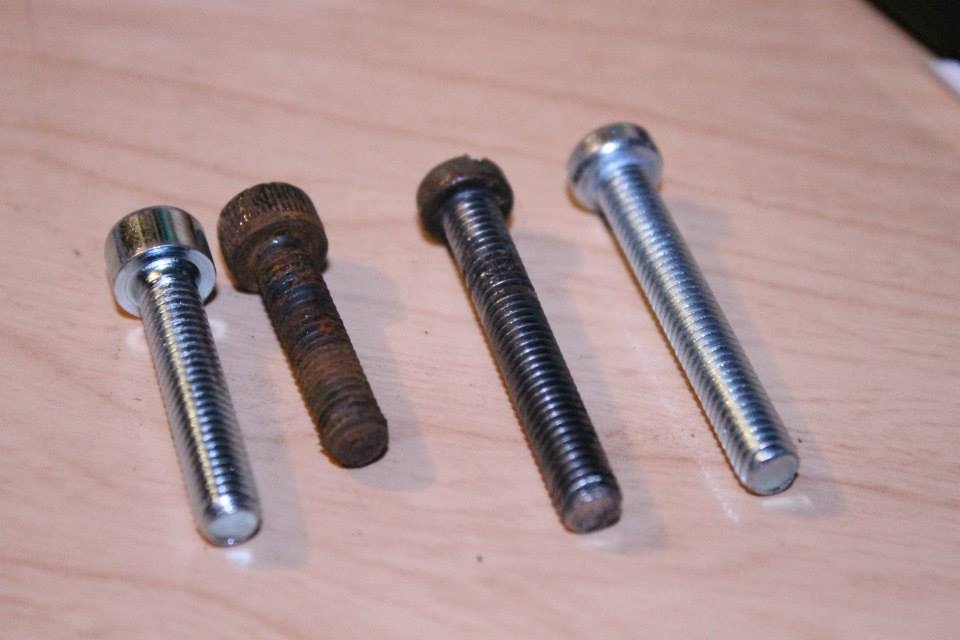
Stainless steel screws for another 30 years
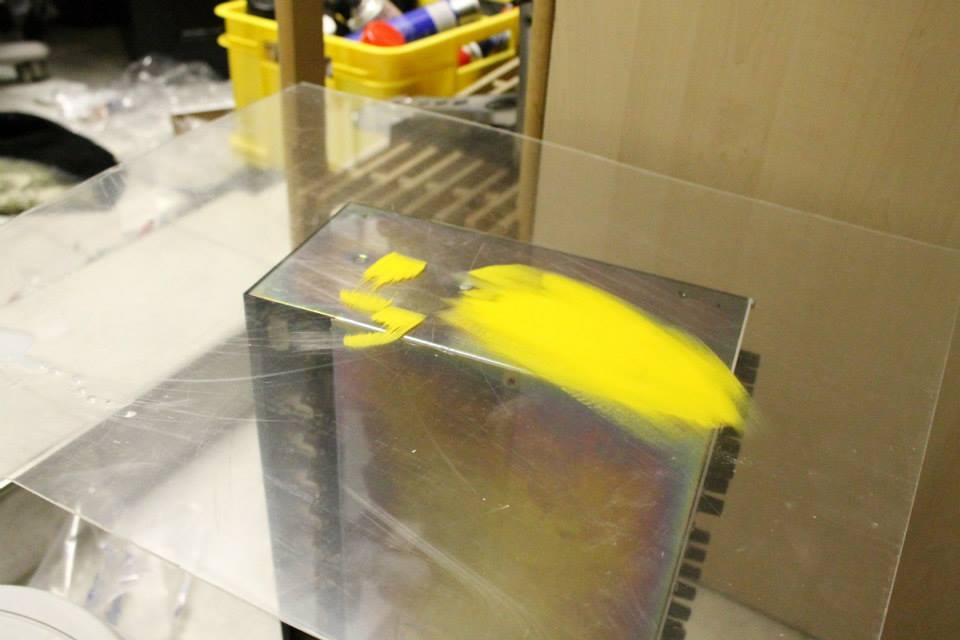
Test lacquering on an acrylic plate. Do not use Polyurethan lacquer! It will damage the shell! Actually I used paint for model-making.
Water based Acryl lacquer

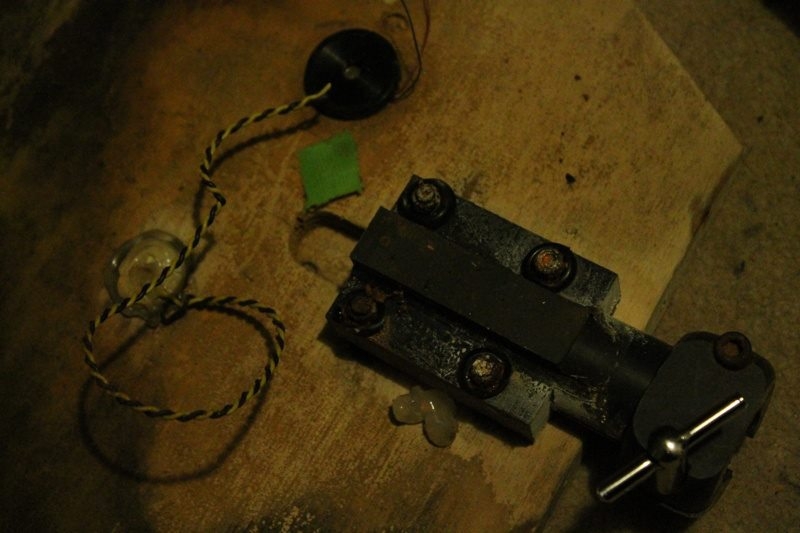
Once I was a piezo
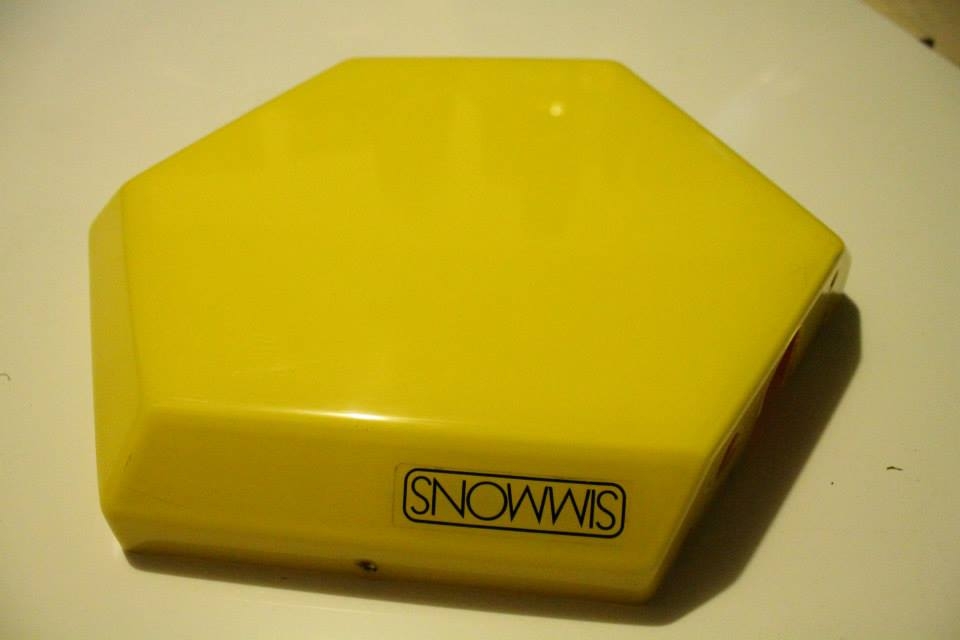
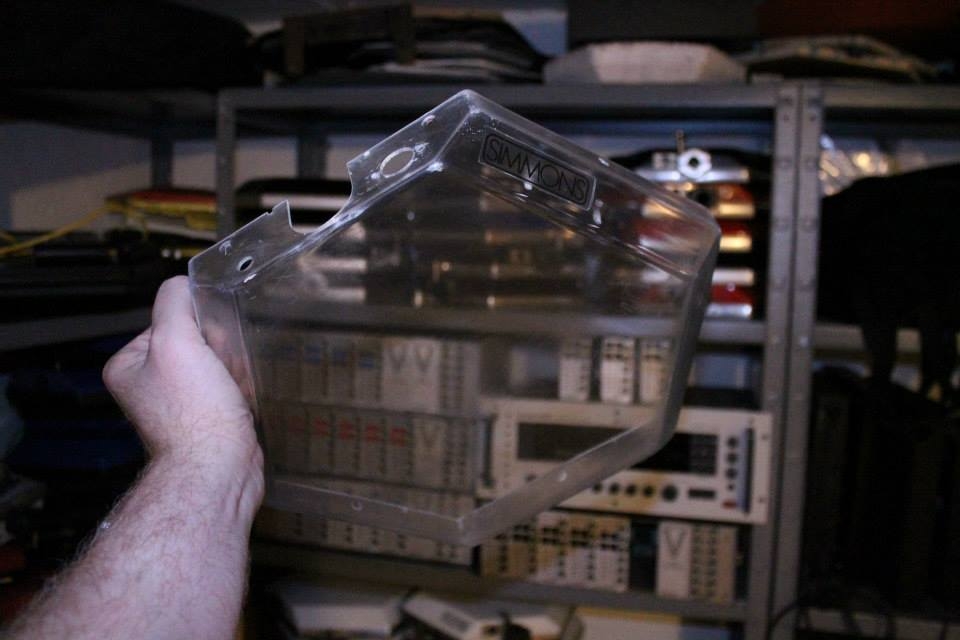
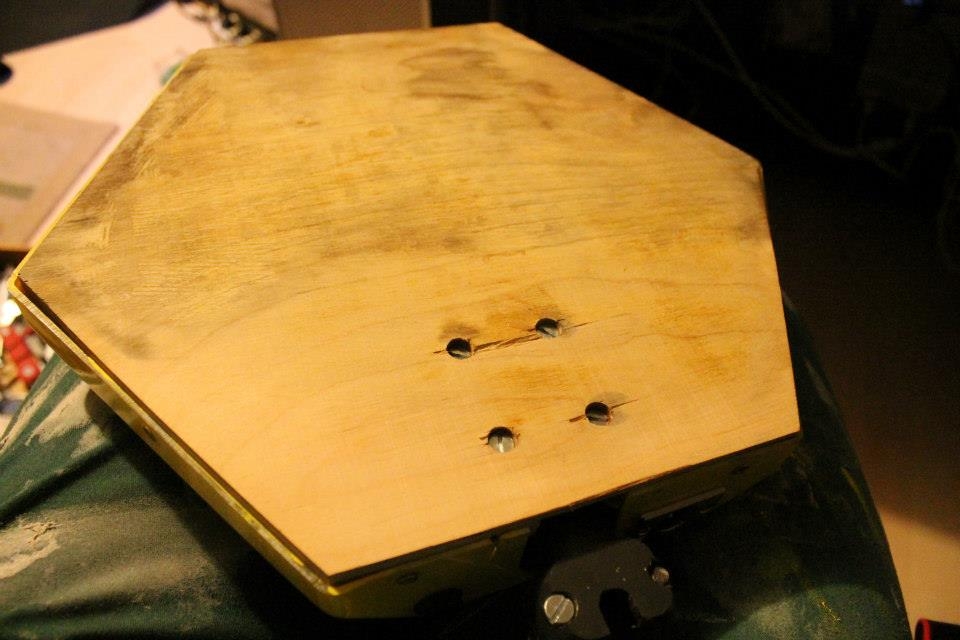
The shell is ready
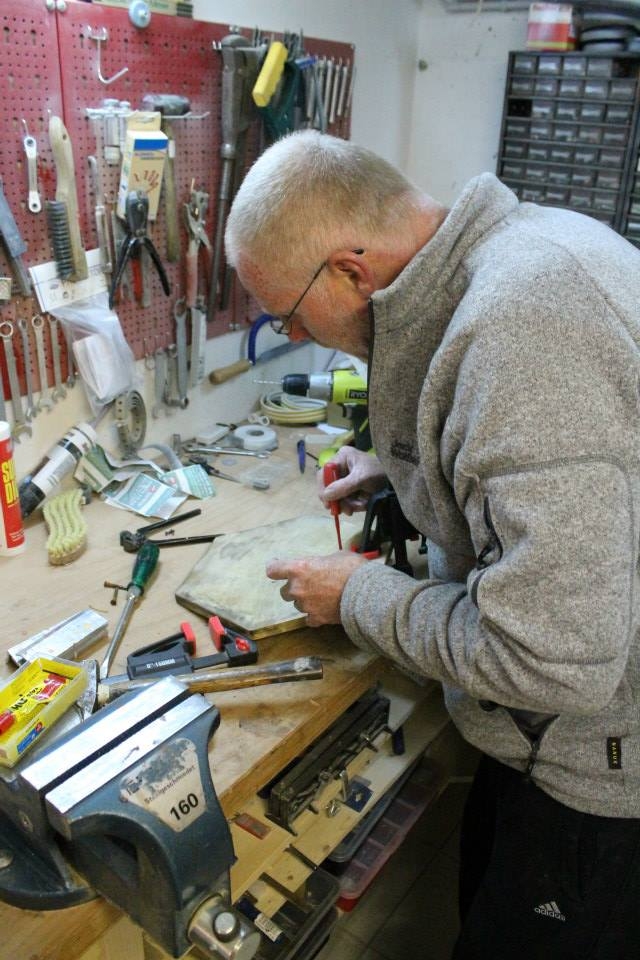
My brother Mr. Perfect: I collect drums, he collects tools 😀
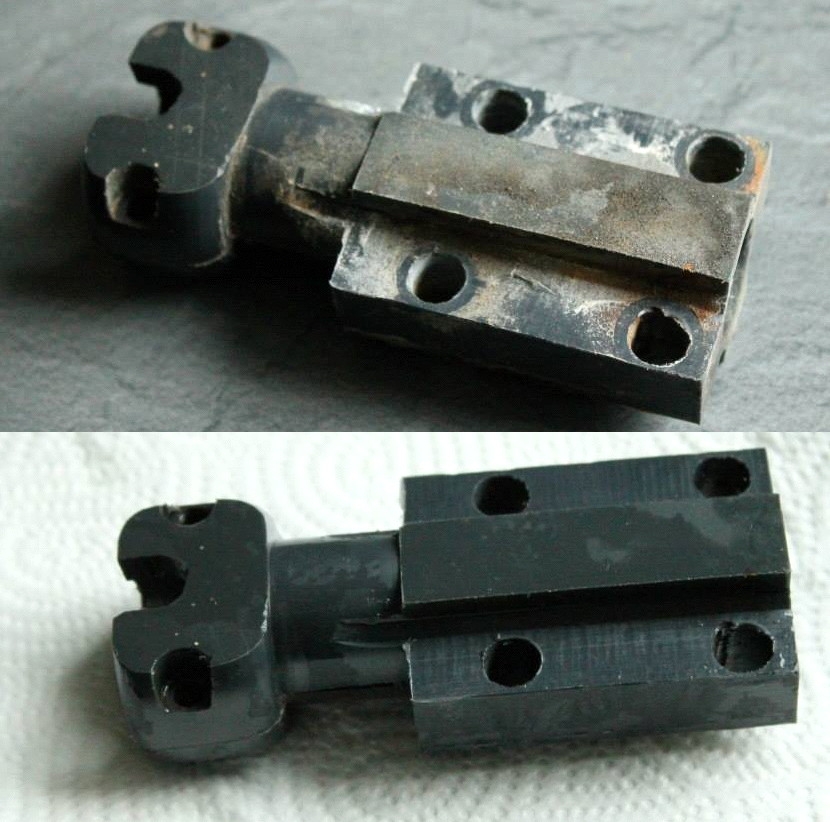
The mounting socket: Before and after
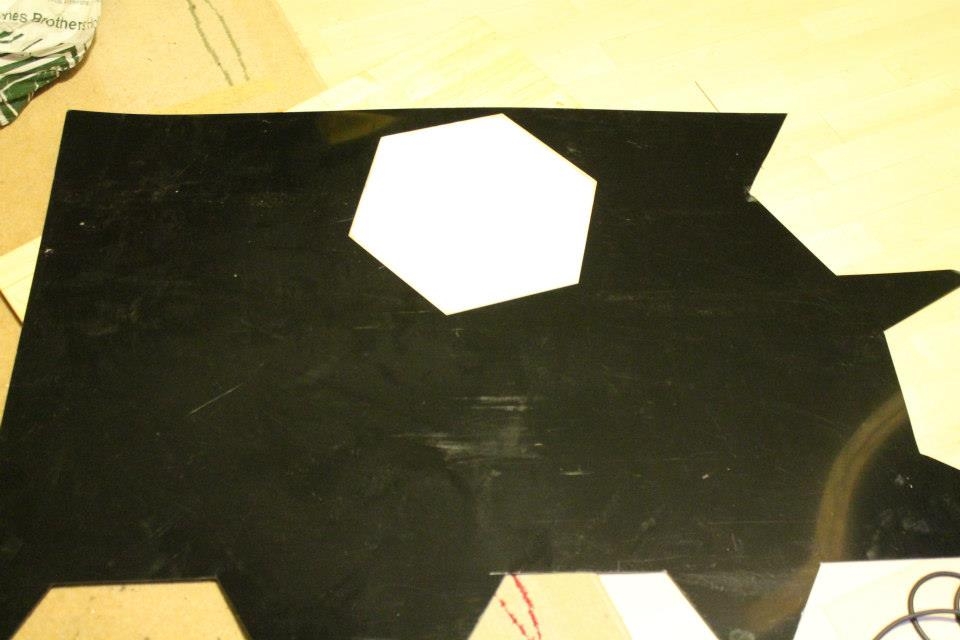
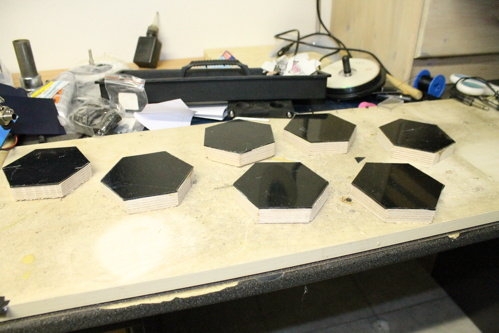
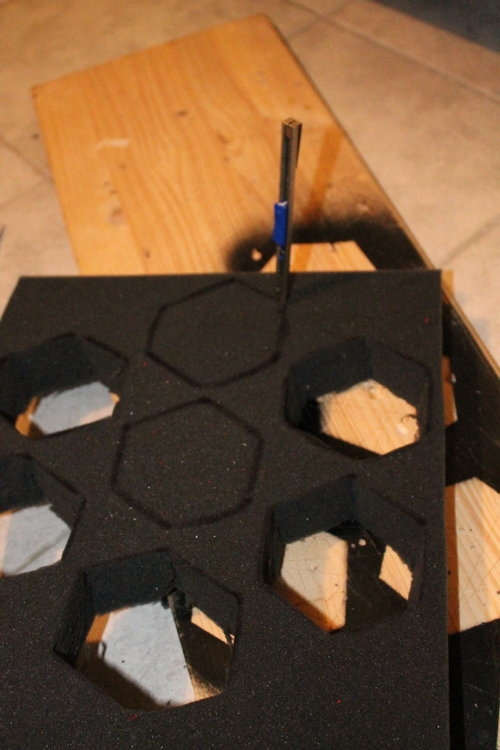
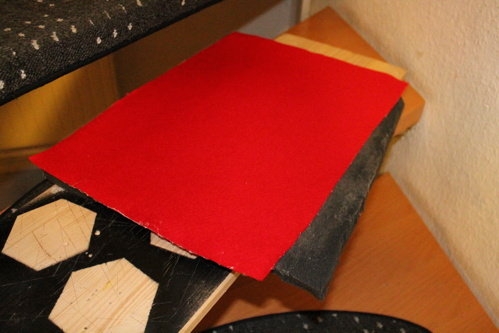
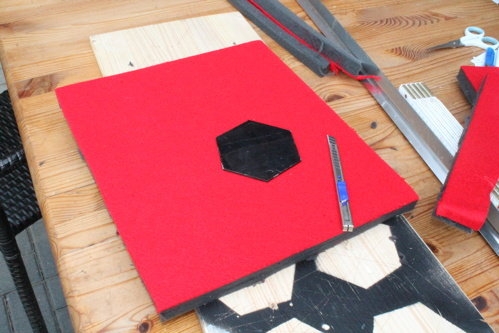
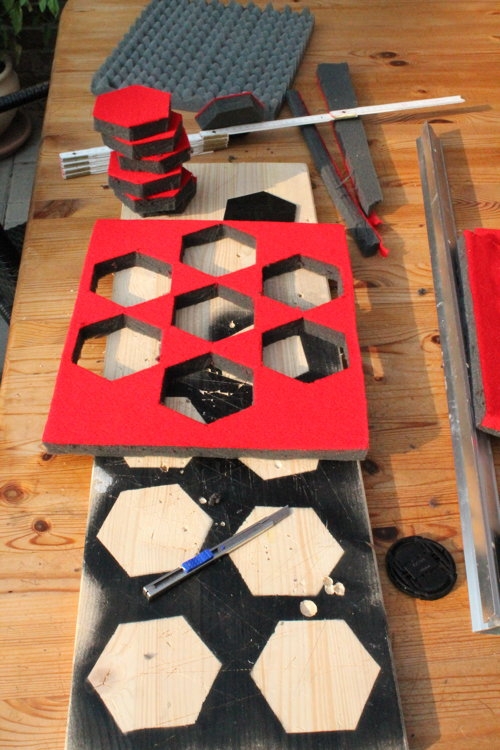
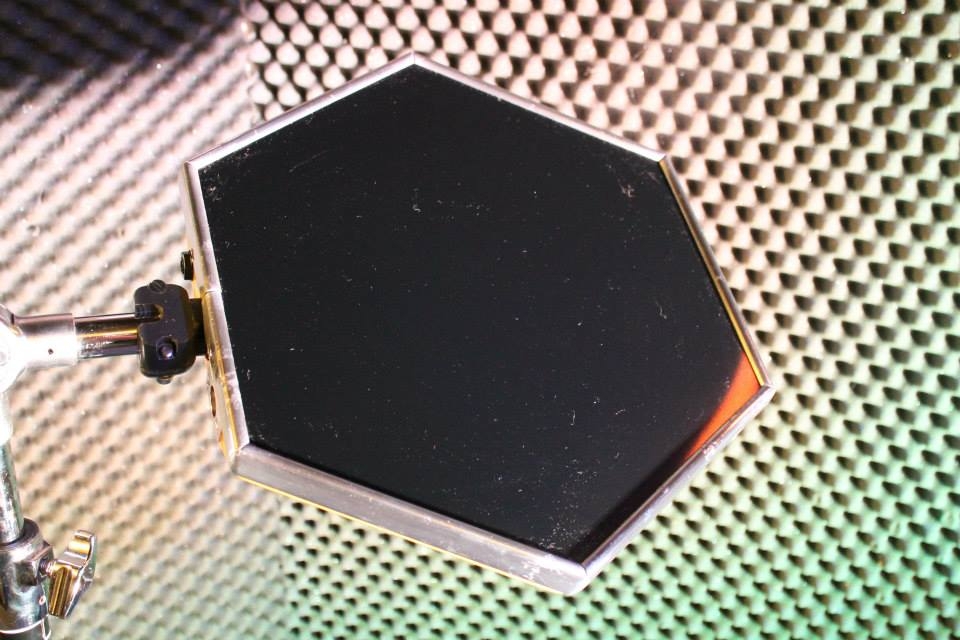
Cutting new playing surfaces. Today we choose … black
Rubber seals from the plumber department. And new stainless steel screws as well
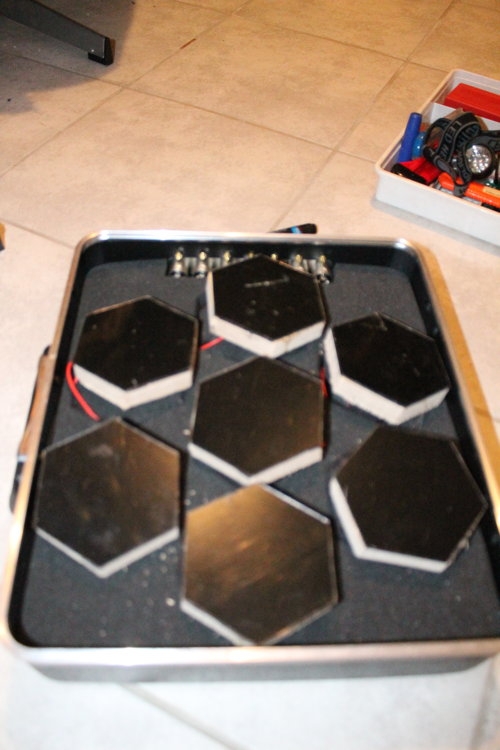
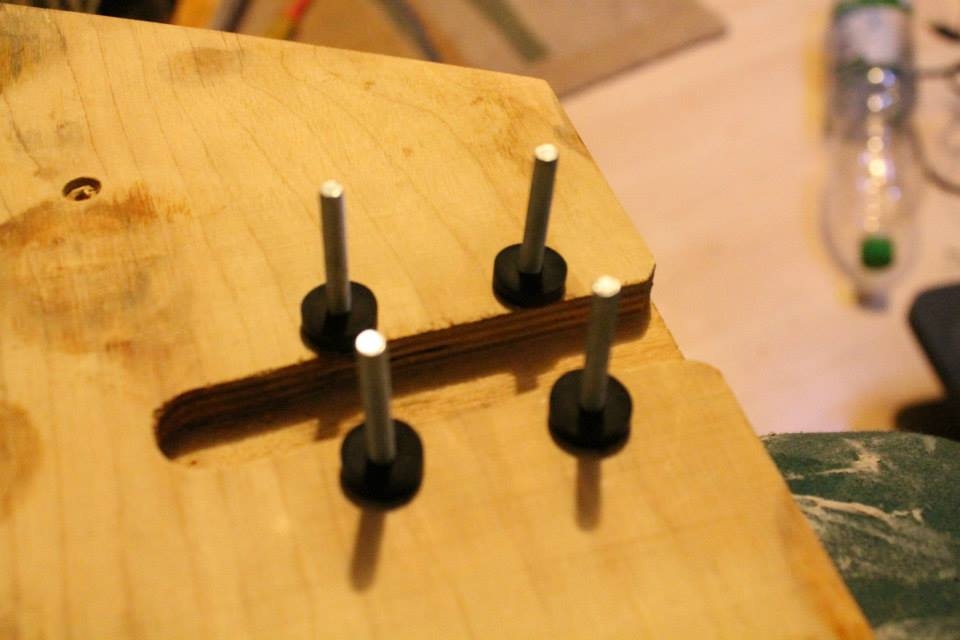
The mounting socket screwed to the plywood board
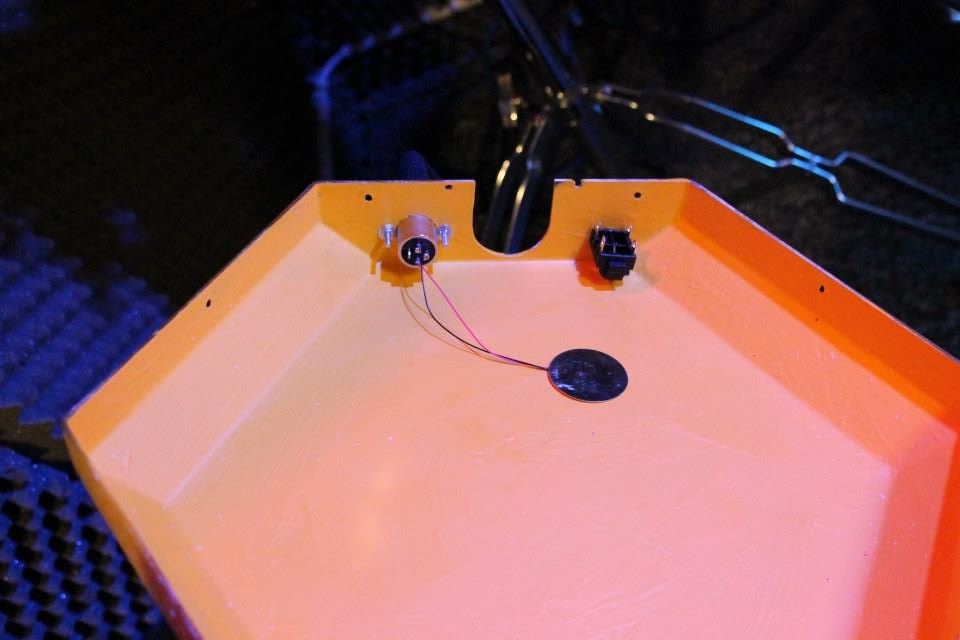
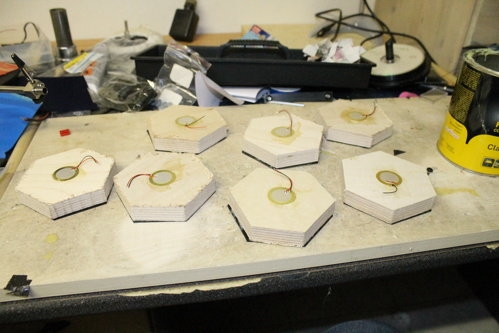
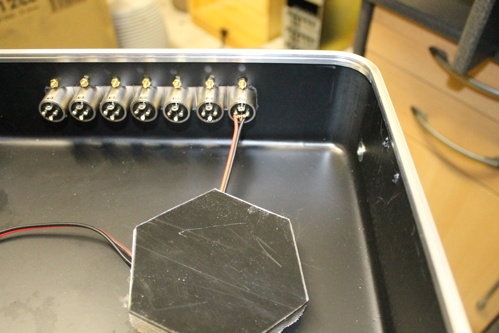
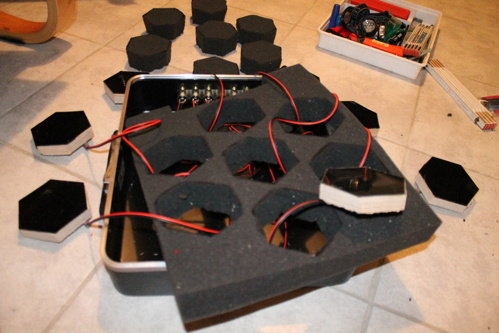
New 35mm piezo, new XLR socket
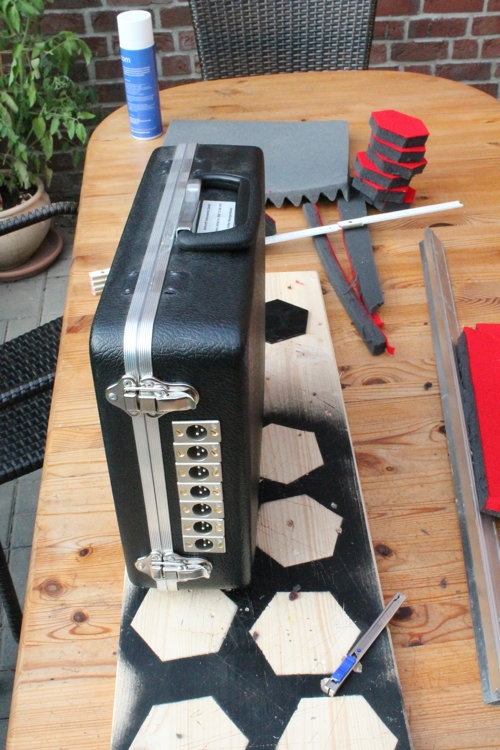
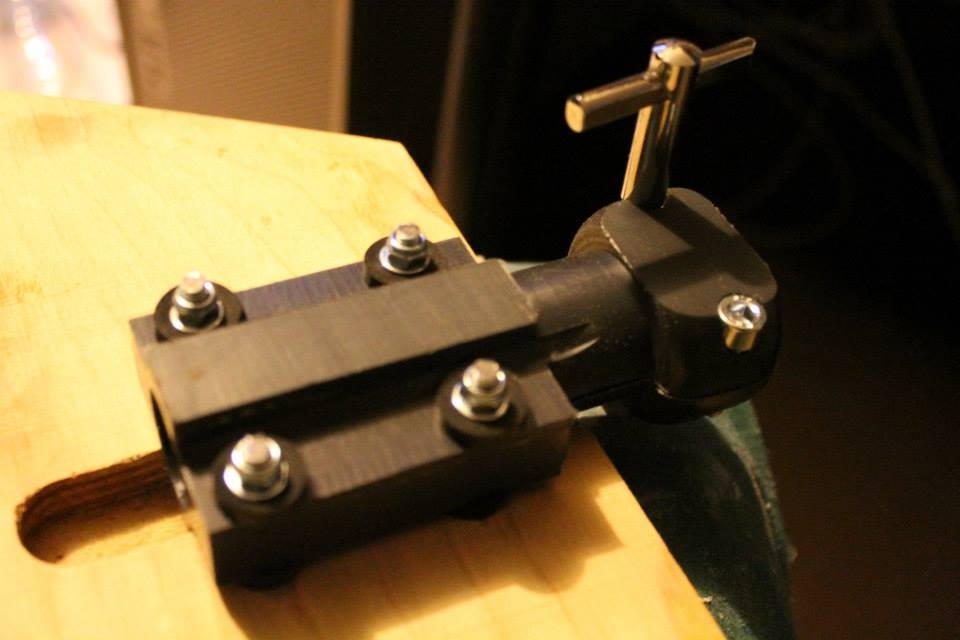
Assembling the shell to the board
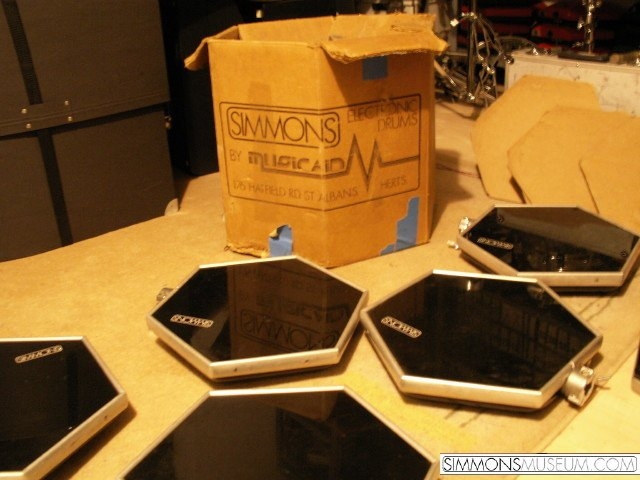
This pad was born in 1983. 007’s Octopussy as well
The PVC plate is being glued to the board. Virginally shining under the protection foil
Mounting the rim – checked

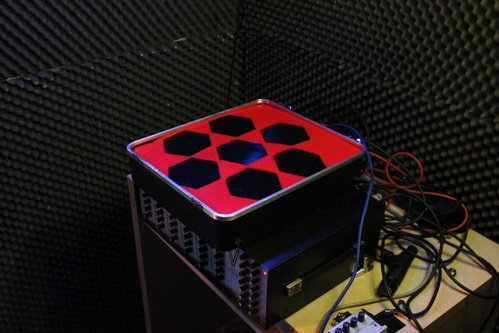
sweet 🙂

Beta Testing
To be honest: I am sure that it didn’t look much better 30 years ago in the retailers showroom
It was more effort than it might look like. And this is the first pad of a total of five. Still it was worth doing that